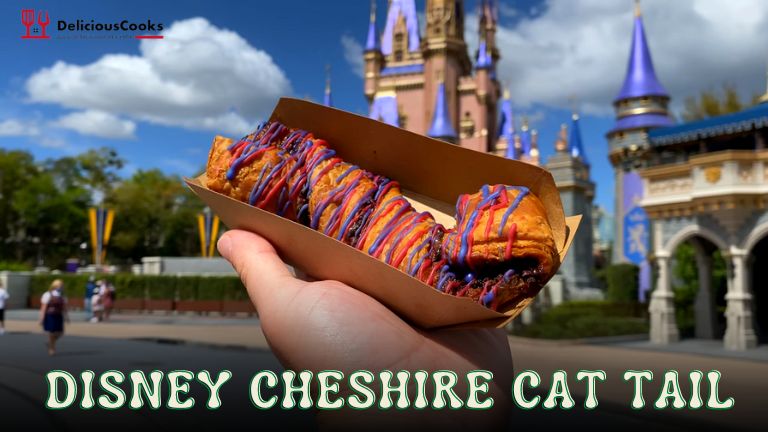
Who doesn’t love sweet treats? especially if it originates from Disney’s Magic Kingdom. I’m so excited to share my latest recipe with you all – a Disney-inspired Cheshire Cat Tail! If you’re a fan of Alice in Wonderland, you’re going to love this sweet treat.
All you need is some pink and purple food coloring and a little creativity to achieve the signature Cheshire Cat look. Trust me, your friends and family will be grinning from ear to ear when they see these playful treats.
Let’s not wait any longer and jump to getting the full recipe.
Why Cheshire Cat Tail Is A Must Try
This crispy treat is ideal for kids’ parties, kitty parties, late-night parties with friends, Christmas, Thanksgiving, and many other occasions. And guess what? You don’t need any special ingredients or a lot of time to prepare these delicious snacks at home. You’ll be eating a delicious Cheshire cat tail in no time if you set aside for an hour.
Give a bite and you can hear the crunch, and the pastry cream will melt in your mouth. With a little sweet glaze and some quins on top, anyone will be impressed at first sight. So don’t forget to put this on your next party menu, or whenever your kids ask for something sweet and special.
How To Make Cheshire Cat Tail Recipe
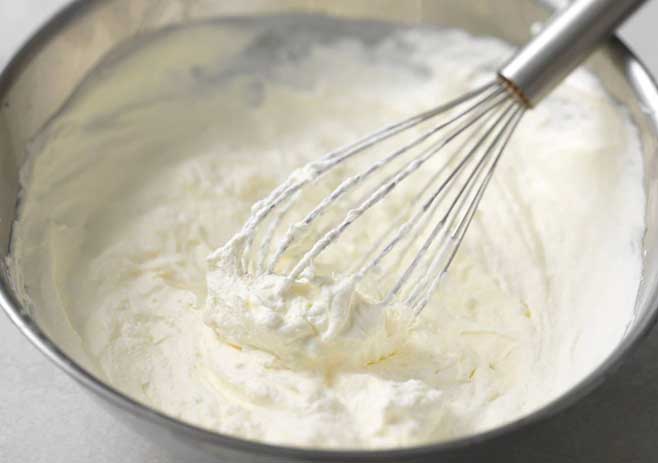
The star of this recipe is its soft and smooth creme pastry filling. And this is where our cooking starts. Let’s make the creme pastry.
Step 1:
Making Cheshire Cat Tail Filling (Creme Pastry)
- In a saucepan pour 1 ½ cups of milk and heat it for a minute on low heat. Don’t boil the milk, just a minute is enough. Once done transfer the milk to a bowl and keep it aside for rest use.
- In a large mixing bowl take two egg white, and half of the ⅓ cups of sugar, and whisk with an electric beater or hand whisk on high speed. Add ⅓ cup of butter, and the rest half of sugar, and beat again.
- Once you get a smooth batter, add the egg yolk and two teaspoons of vanilla essence. Now use a spatula and gently mix with the batter. Then add ¼ cup of cornflour gradually and continue mixing gently with a rubber spatula.
- Next, take two tablespoons of warm milk and gently pour it into the batter, give it a good mix, and then add the rest of the milk in two or three steps.
- It’s time to cook the filling. Pour the mixture into a pot, and let it get cooked on medium heat for a few minutes. Don’t leave the filling alone, stir continuously. Once the filling is thick enough turn off the stove, and let it rest for a few minutes.
- Then strain the mixture to get rid of bubbles and other unmixed ingredients. Cover it with a cling film and let it cool down. Finally, keep it inside a fridge to chill.
Step 2:
It’s time to make our Cheshire cat tail outside crisp.
- Set the oven to 200 degrees for preheating and leave it for 15 minutes.
- Take two puff pastry sheets, unroll them, and lay them long.
- Take enough cream pastry and spread it on one of the pastry sheets. Ensure the creme pastry layer is thinner. Stuffing too much can come out while twisting them.
- Cut the chocolate chips into small pieces and spread them on top of the pastry. Now place the other puff pastry sheet over the filled pastry sheet and dab to seal the edges.
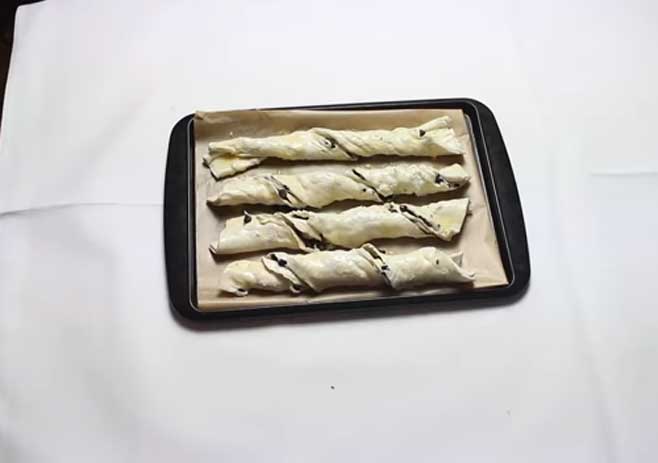
- Take a knife and cut the crisp into six slices. Hold the two ends of the slice, twist, and place it over the baking pan lining with a parchment baking sheet. Do this process for each slice.
- Take a beaten egg and a few drops of water and whisk well, and brush the twisted slices with this mixture. Put these in the oven and bake for 20 minutes at the increased heat of 350 degrees.
- Once baking is done, take out the tray from the oven and allow it to chill for a few minutes.
Step 03
Making Icing Sugar
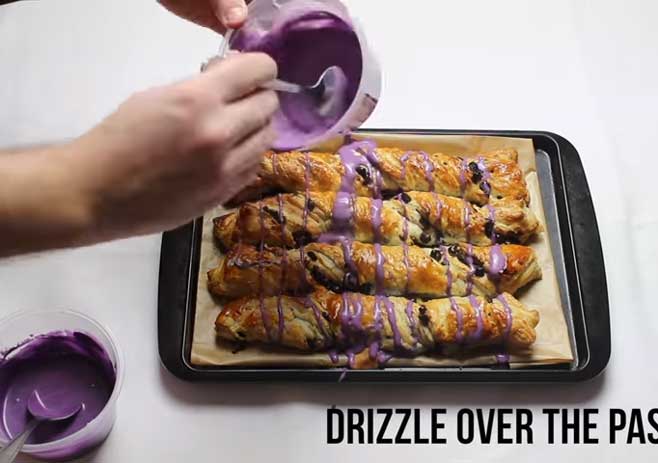
To make the Cheshire cat tail more delicious we will make some icing sugar and drizzle it over the twisted tail.
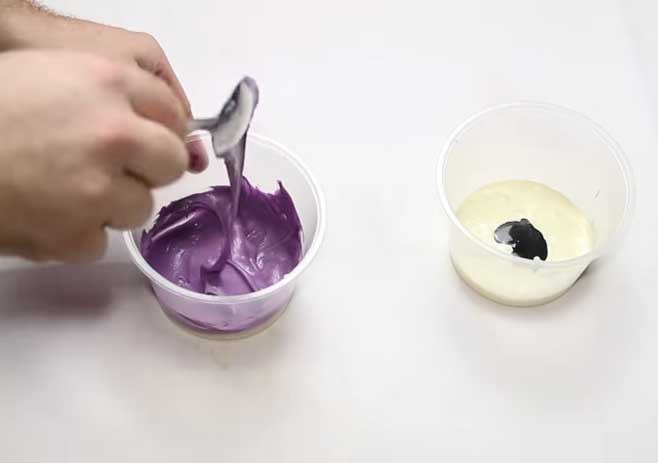
- Take ¼ cup of powdered sugar, divided it into two parts, and take it in two different bowls or cups.
- Add warm milk little by little and make a smooth paste. Start by adding 1 tablespoon of milk, and stir until smooth.
- If it seems thicker add one more tablespoon of milk, stir again and check the texture. Do this until you get the perfect textured icing sugar.
- Then take two colors, like one is light purple and another one is dark purple or pink, whatever you like. Mix two different colors in two different icing sugar bowls and mix until well combined.
Step 04
Decor the Cheshire Cat Tail
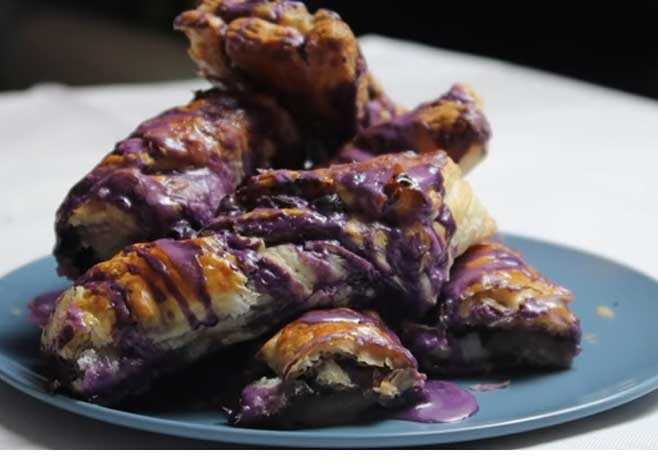
Once the icing sugar is ready, drizzle them one by one on top of the twisted tails and your Cheshire cat tail is ready to serve. If you want you can pour more of it if you love to eat sweeter. Or you can also sprinkle some quins to make them look more gorgeous.
Step 05
You can serve the Cheshire cat tail in big slices as they are, or cut into the middle and serve little slices. The amount of twisted tails we made above is perfect to serve a minimum of 5-6 people.
Tips and Tricks
- To make the filling perfectly thick and textured, you must use corn flour. It also ensures a sticky filling that regular flour cannot.
- Don’t add the milk at once; add it little by little to avoid egg scrambling.
- Use a spatula to mix the filling, and keep stirring continuously, so it doesn’t stick below.
- Don’t stuff filling too much in the puff pastry; it can come out while twisting them.
- If you want to avoid extra calories, skip drizzling any glazing and just bake and serve.
Conclusion
So, what do you think of the Cheshire cat tail recipe? Is it too hard? Not really!
You can also cut down on time by using ready-to-use cream pastry and ice cream for decorating. It will save a lot of time, but if you want to ensure hygiene and enjoy the homemade taste, I recommend you take an hour and follow the Cheshire cat tail recipe I have shared above.
Happy snack time with the kid’s favorite Cheshire Cat Tail twisted slices.

Do they need to be refrigerated? Can you make ahead?
thank you!